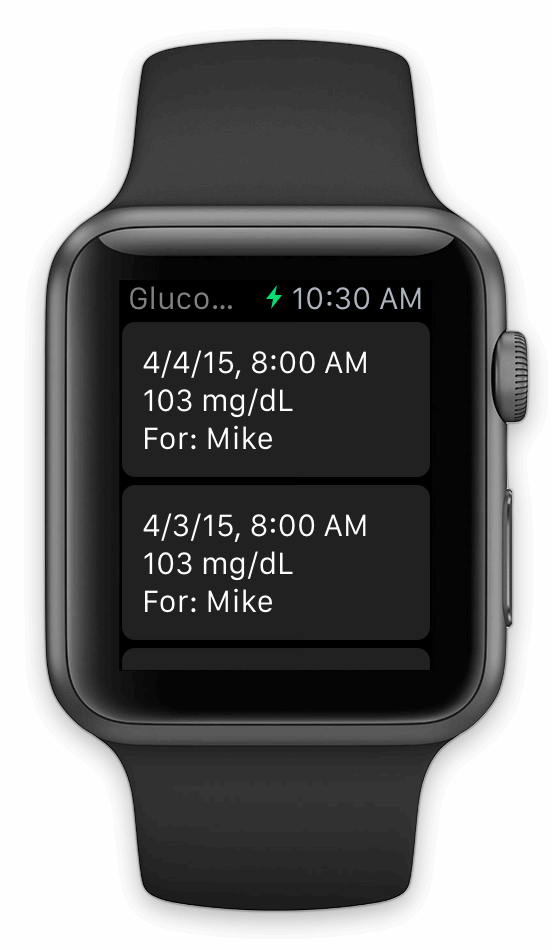
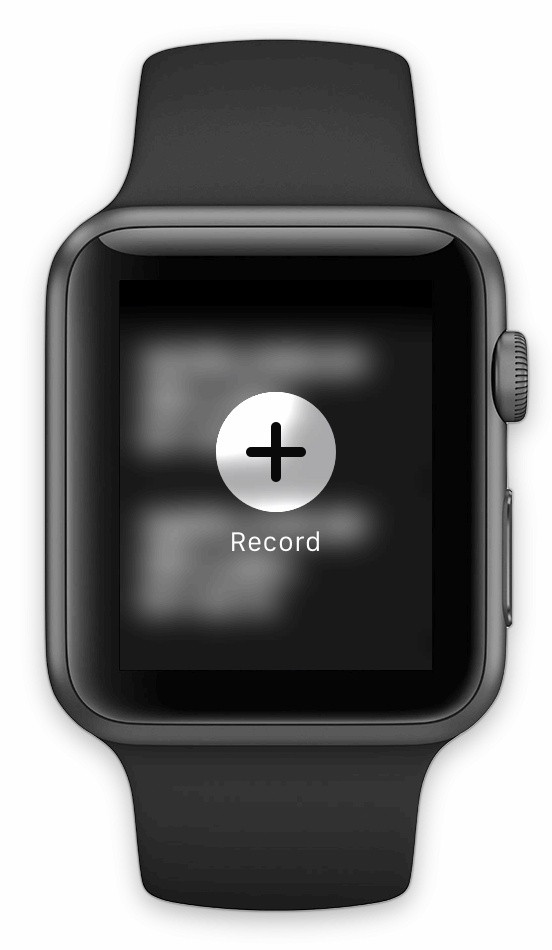
- Start the app, then on the historical view screen which shows the last 10 reading, press firmly on the screen then tap the Record option
-
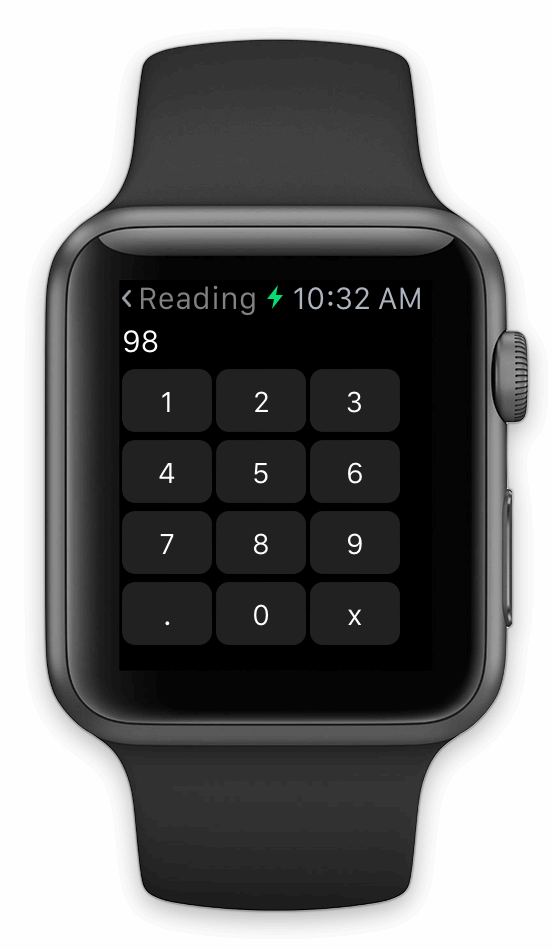
Tap the reading option then us the number pad to enter the value:
-
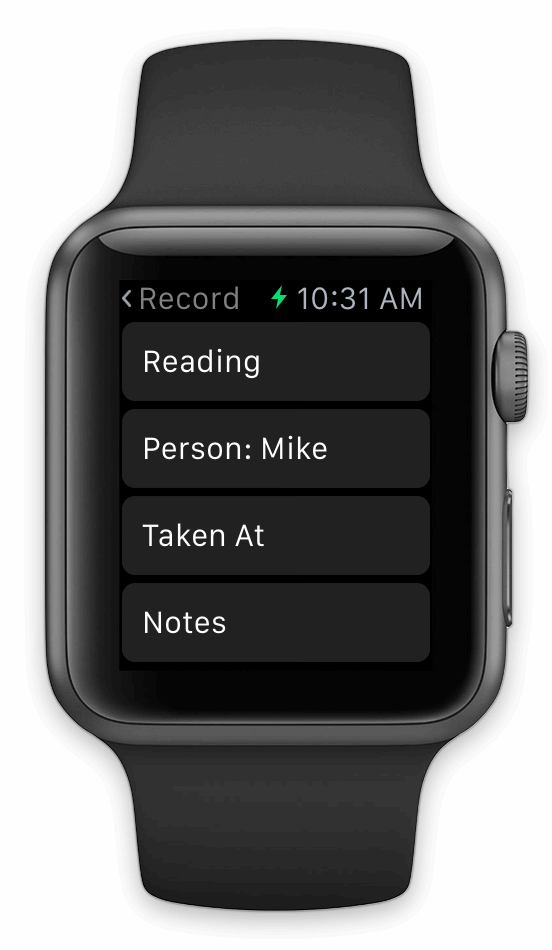
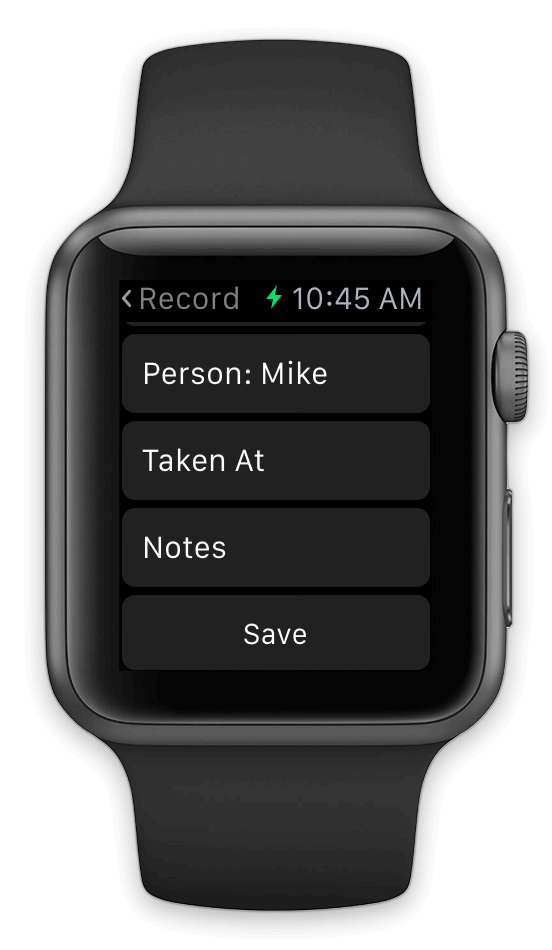
To enter the person, taken at label or notes, tap that option then choose from the list or use the microphone on the Apple Watch to dictate
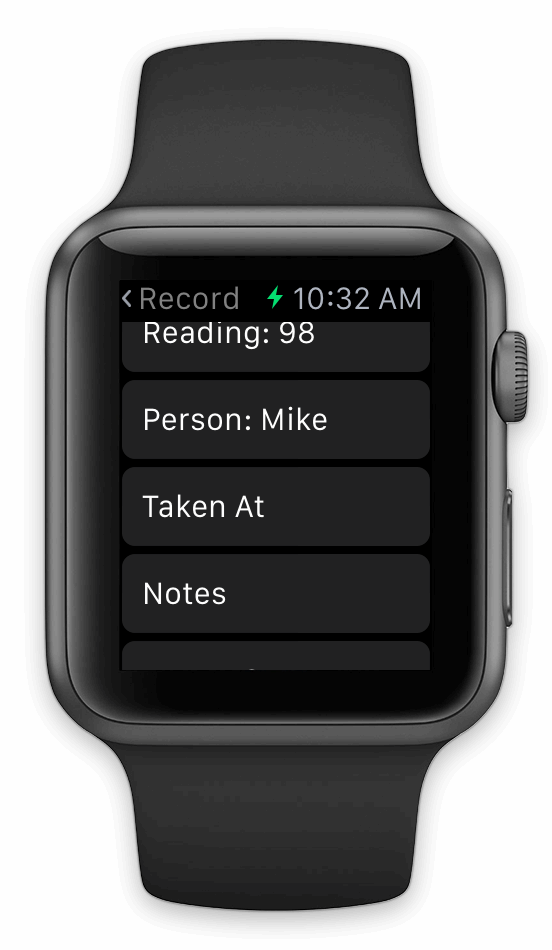
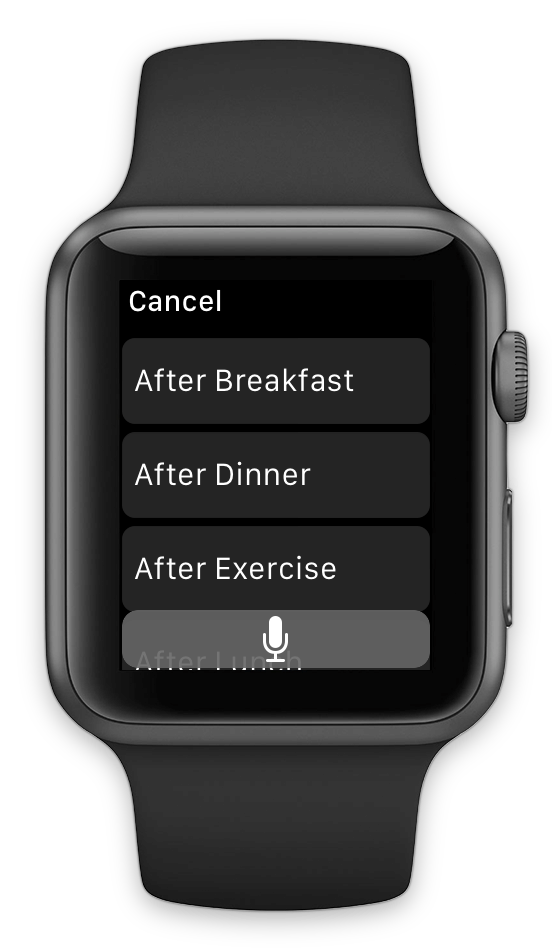
-
Finally, tap the Save button to record the reading
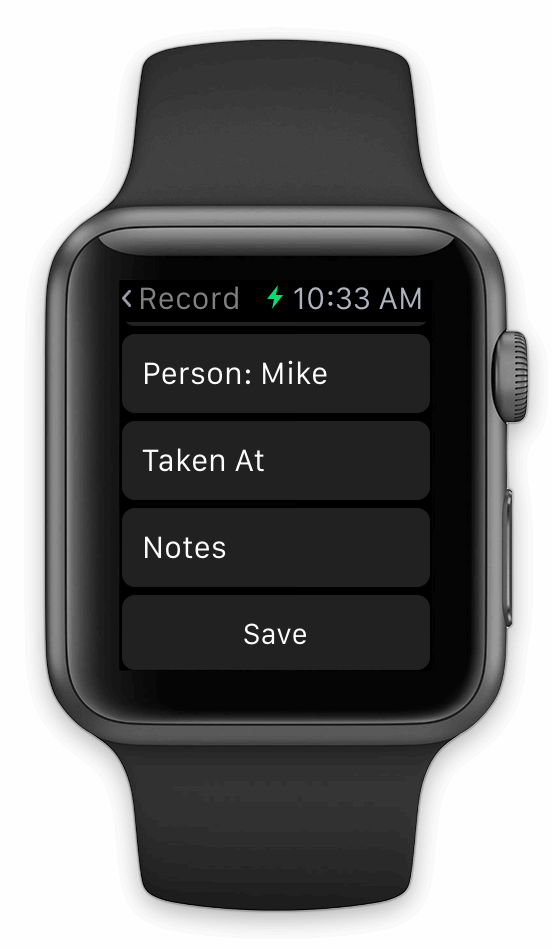
|
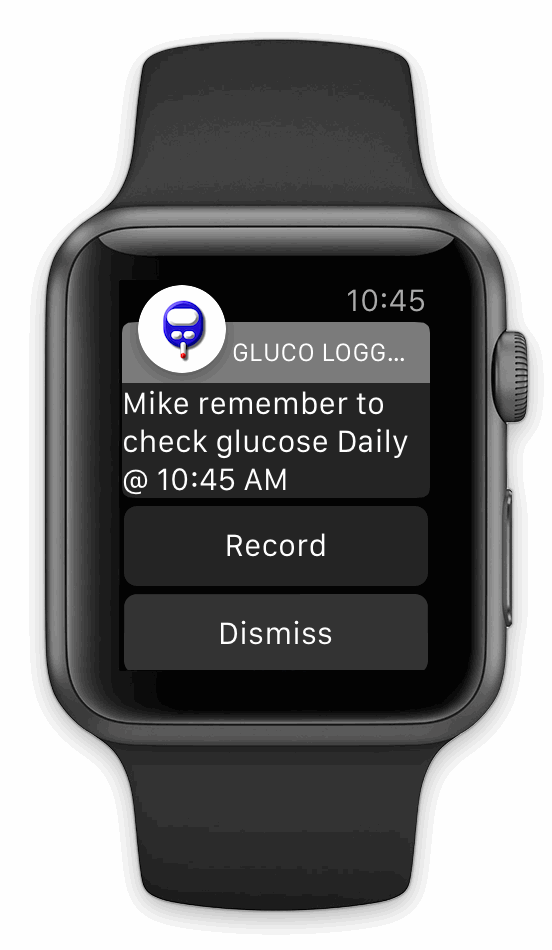
When reminders are sent to the Apple Watch, the system lets you know subtly.
If you choose to view the reminder, the Apple Watch displays an abbreviated version of the reminder first, followed by a more detailed version.
You can dismiss the detailed reminder or record the reading by tapping the Record button.
Tap the Save button to record the reading
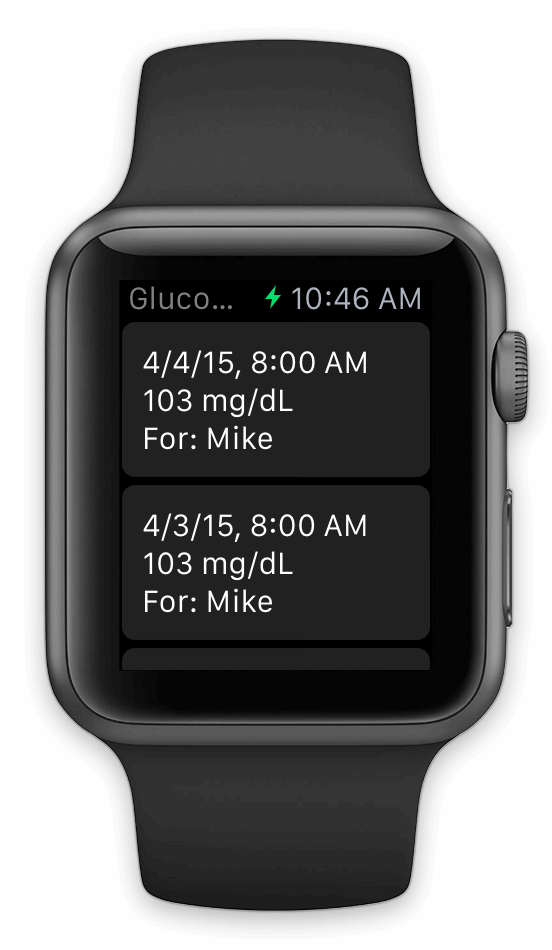
After which, the last 10 readings are displayed
|
|
|
-
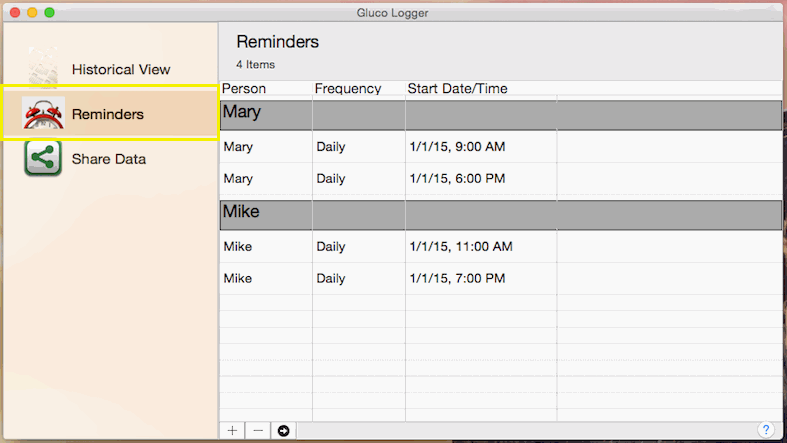
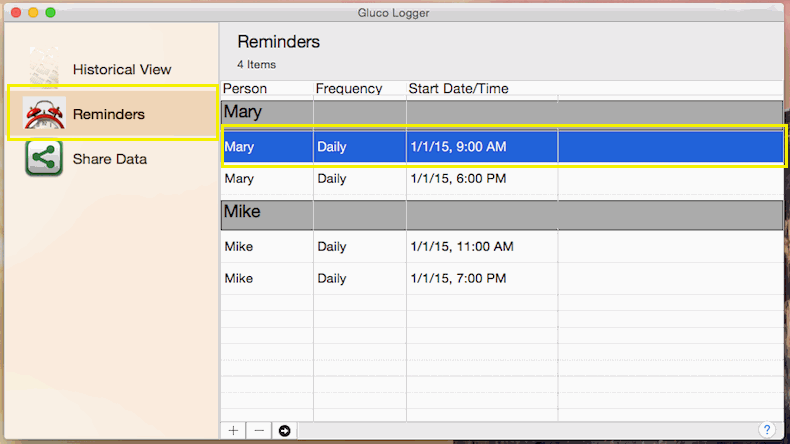
Click Reminders.
-
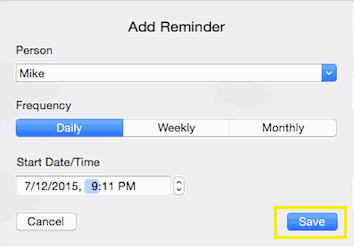
If you want to add a reminder:
-
Click the + button at the bottom of the list.

-
After entering the details, click the Save button to commit your changes or click the Cancel button to lose any changes.
-
If you want to update a reminder:
-
Double click the reminder you want to update.
-
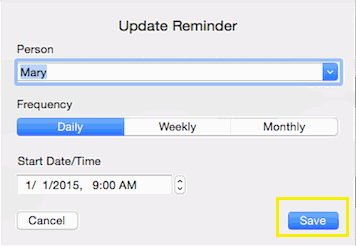
The Edit Reminder page will then load with the details for that reminder, after updating the details, click the Save button to commit your changes or click the Cancel button to lose any changes.
-
If you want to delete a reminder:
-
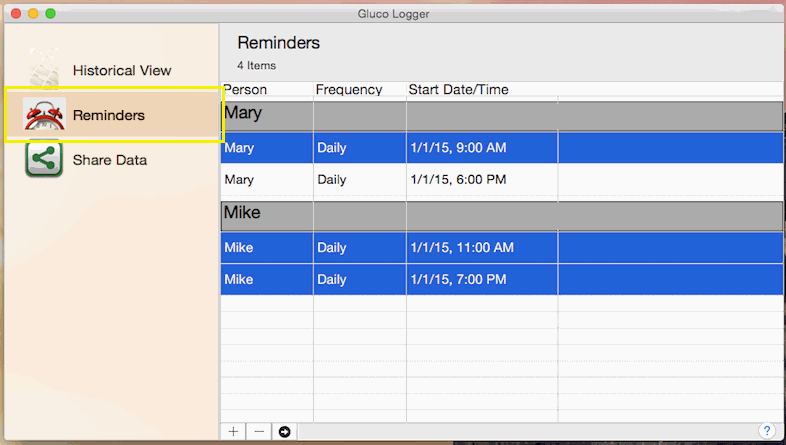
Hold down the Command key and single-click on multiple items.
or
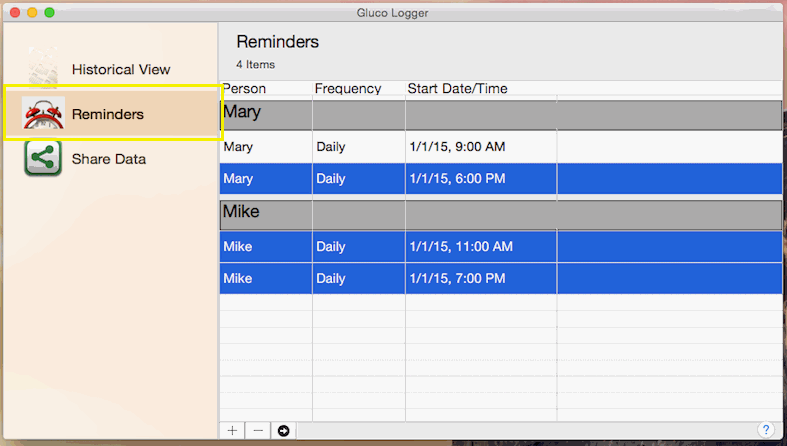
The Shift key lets you select a group of items that are contiguous, or next to each other in the list. Single-click on the first item you want to select in a list. Then hold down the Shift key and click on the last item you want in the list. Everything between the two clicks will be selected.
-
To complete deleting the selected rows, click the - button at the bottom of the list.

|
-
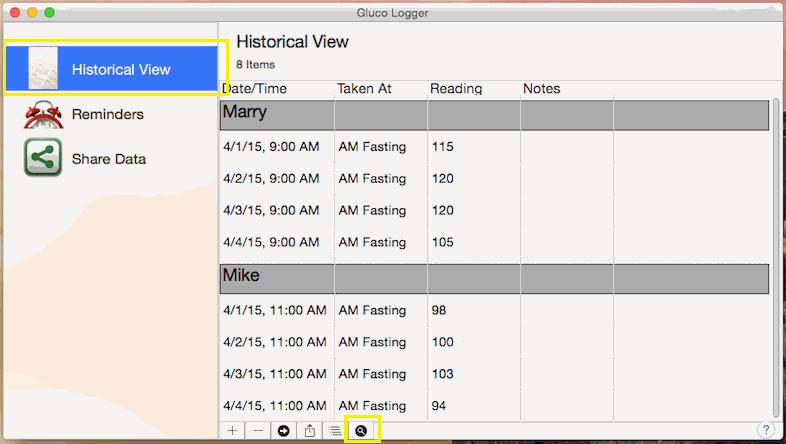
Click Historical View then click the Filter button below the list:
-
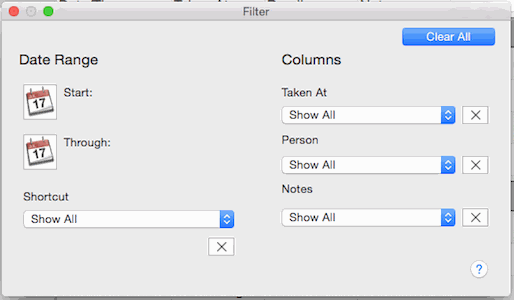
The Filter page is divided into the Date Range and Columns sections which combine to filter your history.
-
The Date Range section allows you to filter using the recorded date/time column.
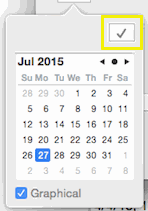
You can provide a start and/or through date but be sure to click the set button:
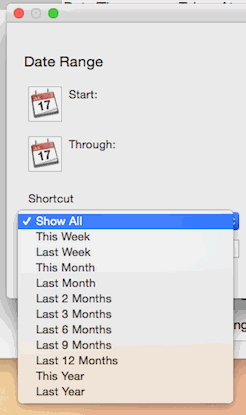
Or you can choose a date range shortcut which will automatically calculate and display the start and through date based on the current date.
NOTE: Editing the start and/or through date manually will disable the automatic calculation of the date range.
-
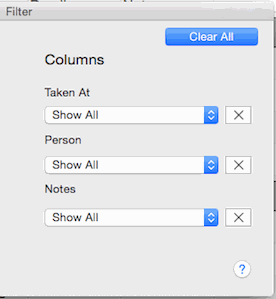
The "Columns" section allows you to filter by the taken at, person and/or notes columns.
-
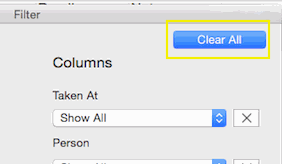
If you want to clear all existing filters, click the Clear All button in the upper right corner of the page:
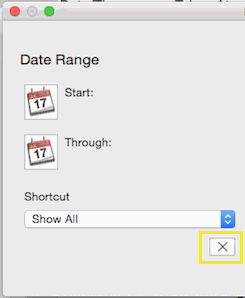
To clear just the start and through dates, click the X button at the bottom of the Date Range section.
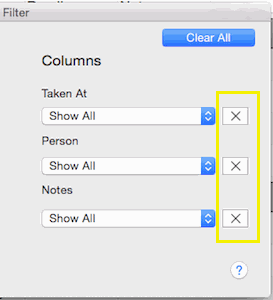
To clear the existing filter for a single column, click the X button to the right.
|